TP-Link Tapo C210 Secure Setup
Date: 6/14/23 Author: B
HackedParenting is reader supported and ad-free.
We will never sell your data, however, may earn a commission when you buy through links in our site.
Product Overview
The Tapo C210 is a high definition Wi-Fi enabled indoor camera. Advanced advertised features such as night vision, two-way audio, and noise detection allow it to fulfill other functions such as a baby monitor. It offers the ability to store footage both locally on a MicroSD card and in TP-Link’s cloud service.

For additional product details visit the Tapo C210 product page here on Hacked.Parenting.
Too Long Didn’t Read
- Use an e-mail relay instead of your personal e-mail address for account creation
- Use a password manager or at least our built-in password generator to protect your account
- When possible, use two factor authentication
- Disable unused application permissions after setup completion
- Enable automatic firmware updates during non-critical hours
- Opt for local storage via MicroSD Card over cloud storage
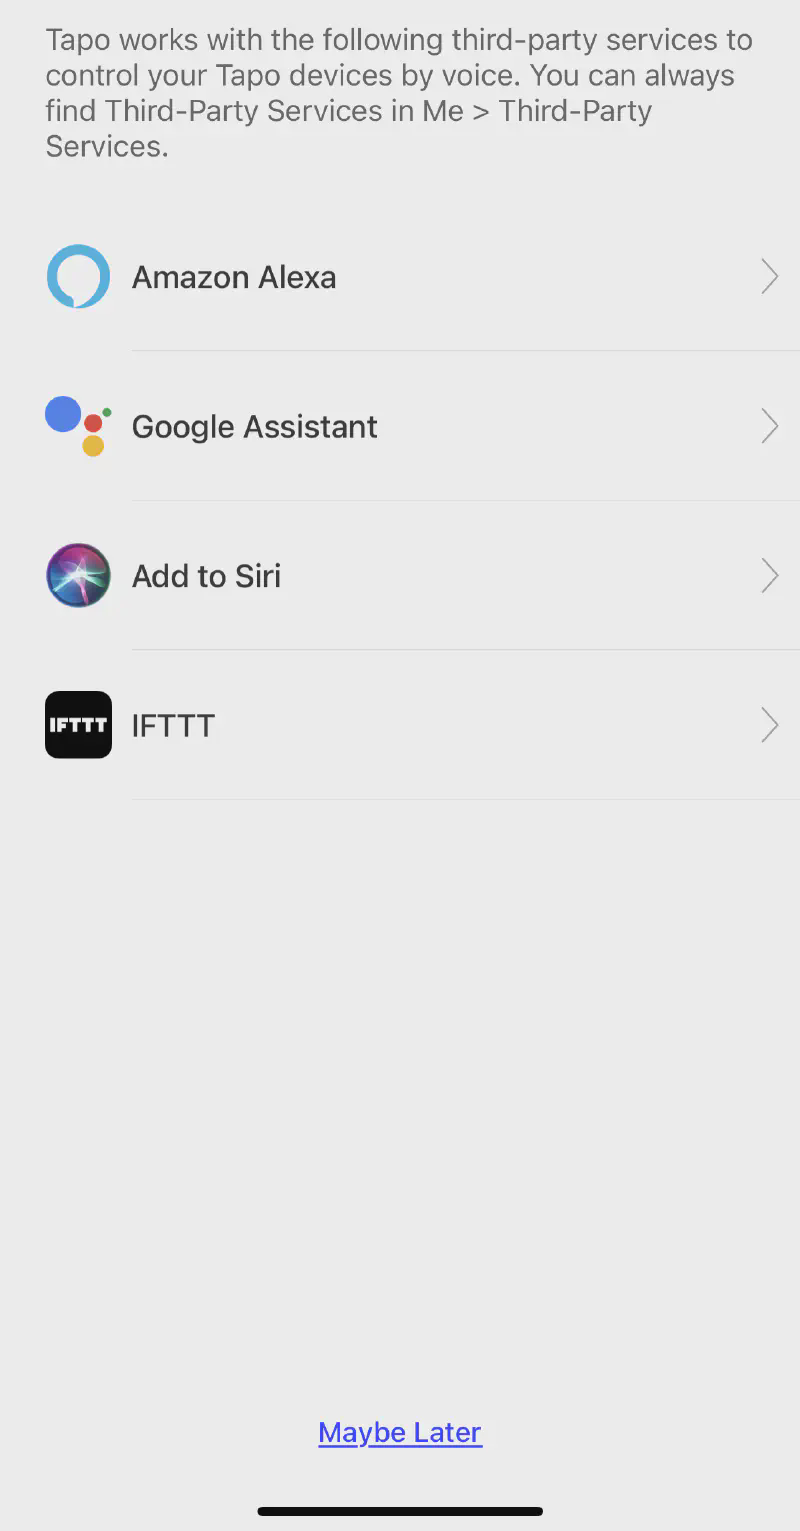
- Only use 3rd party integrations such as Google Assistance or Apple’s Siri for non-critical cameras, if at all
- If using 3rd party integrations, follow their respective secure configuration recommendations
- Privacy Mode is not a replacement for disconnecting the camera
Before We Begin
Setting up the Tapo C210 is a pretty straightforward process. Unless you plan on mounting it to a wall or ceiling, the only required hardware is the camera itself, a wireless network, and ideally a MicroSD card up to 256 Gigabytes in size. You’ll also need the Tapo app from your respective App Store.
These instructions may change, but general concepts should remain the same. For your awareness, setup of the camera occured with the following hardware and software versions:
- Operating System: iOS
- Application Version: 2.15.505
- Firmware Version: 1.3.3 Build 230111
- Hardware Version: 2.0
Device Setup
- First, you will need to install the Tapo application on your mobile device
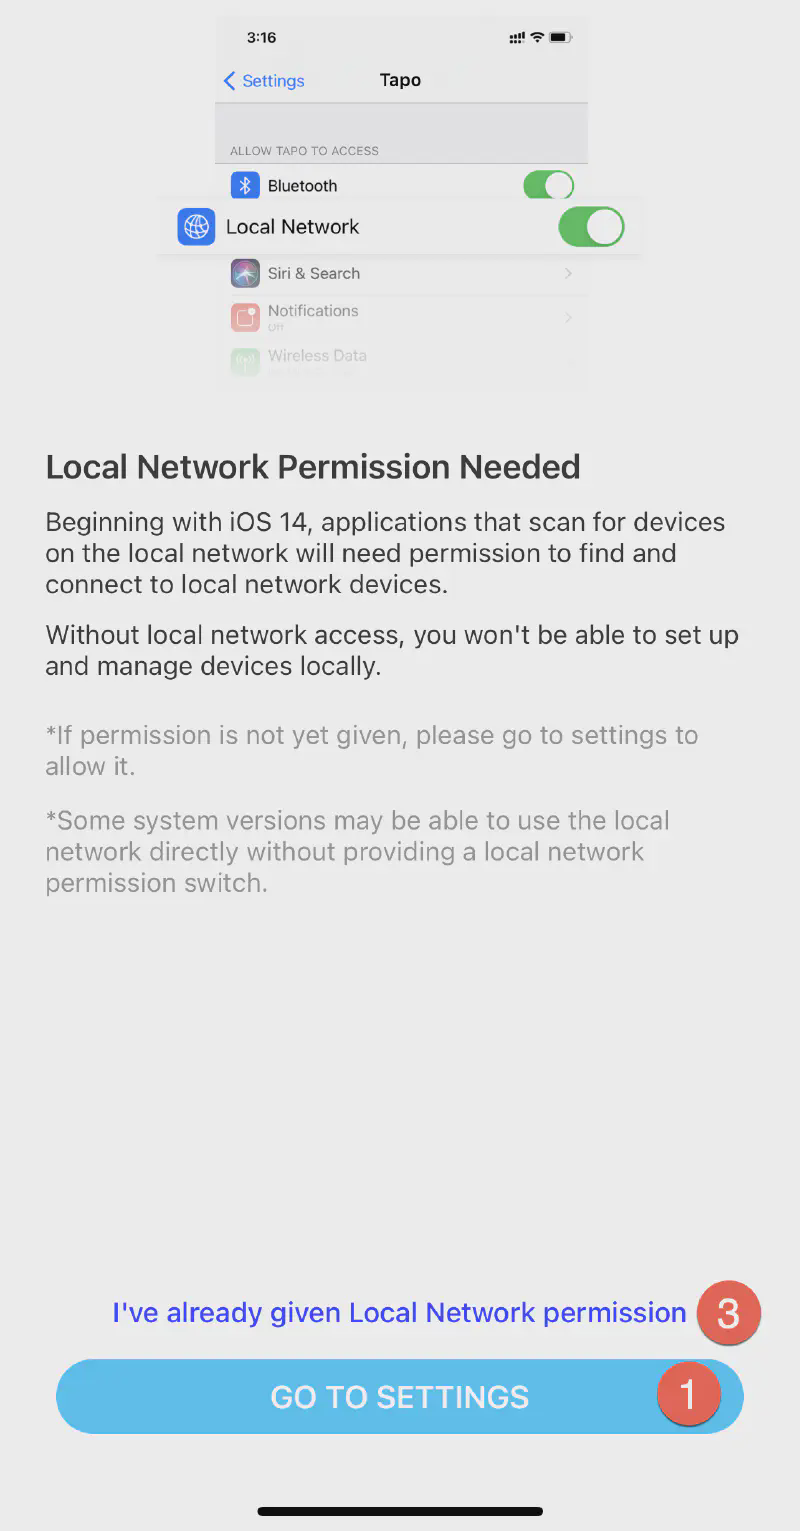
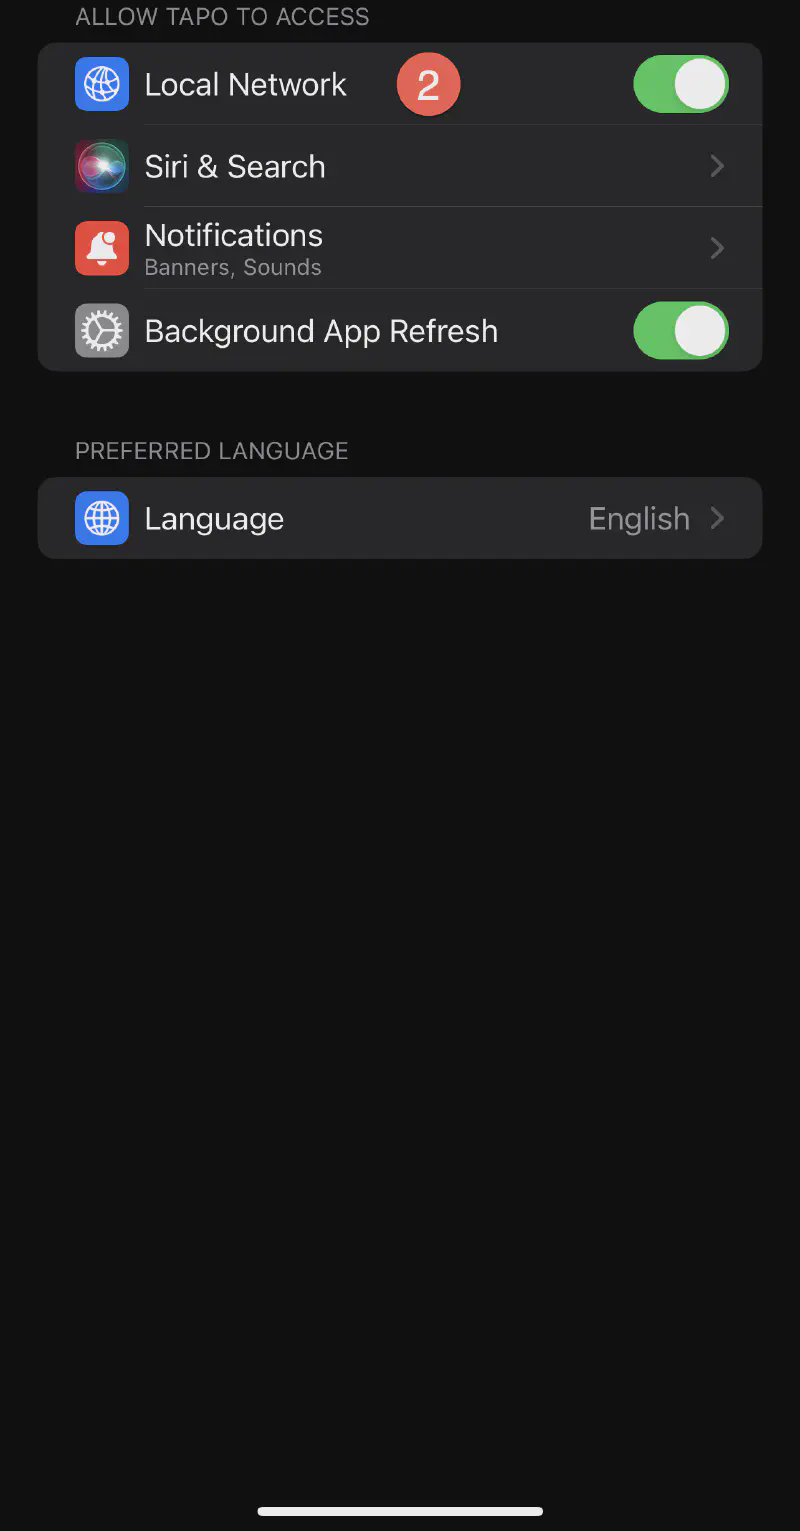
- Initial setup of the application on iOS requires enabling the Local Network Permission to allow your phone to communicate with your local network
- Click the “GO TO SETTINGS” button will open up the relevant settings page
- Enable “Local Network” permissions (this can be disabled after setup)
- Return to the application and if required, select “I’ve already given Local Network permission”
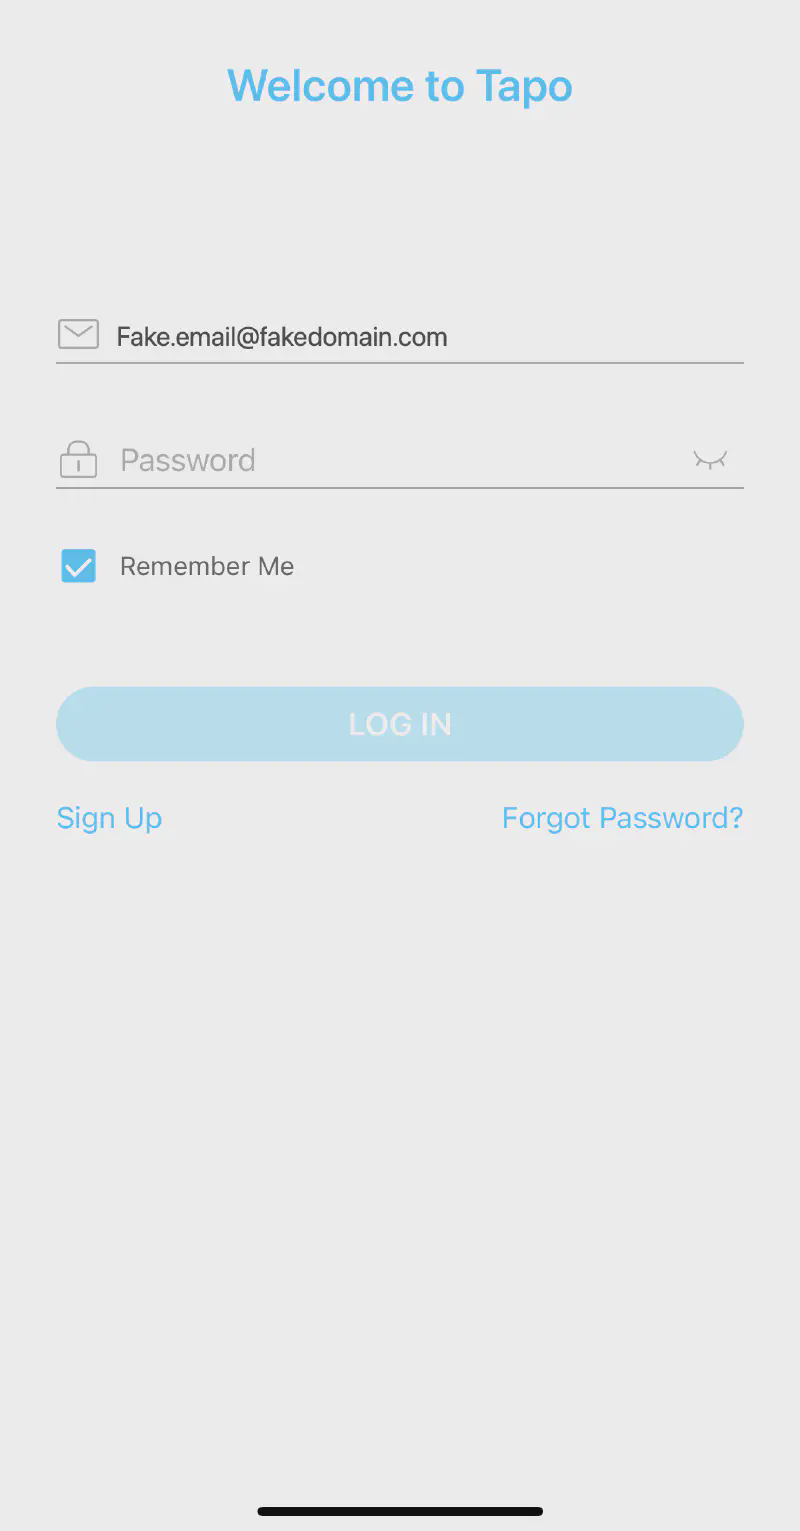
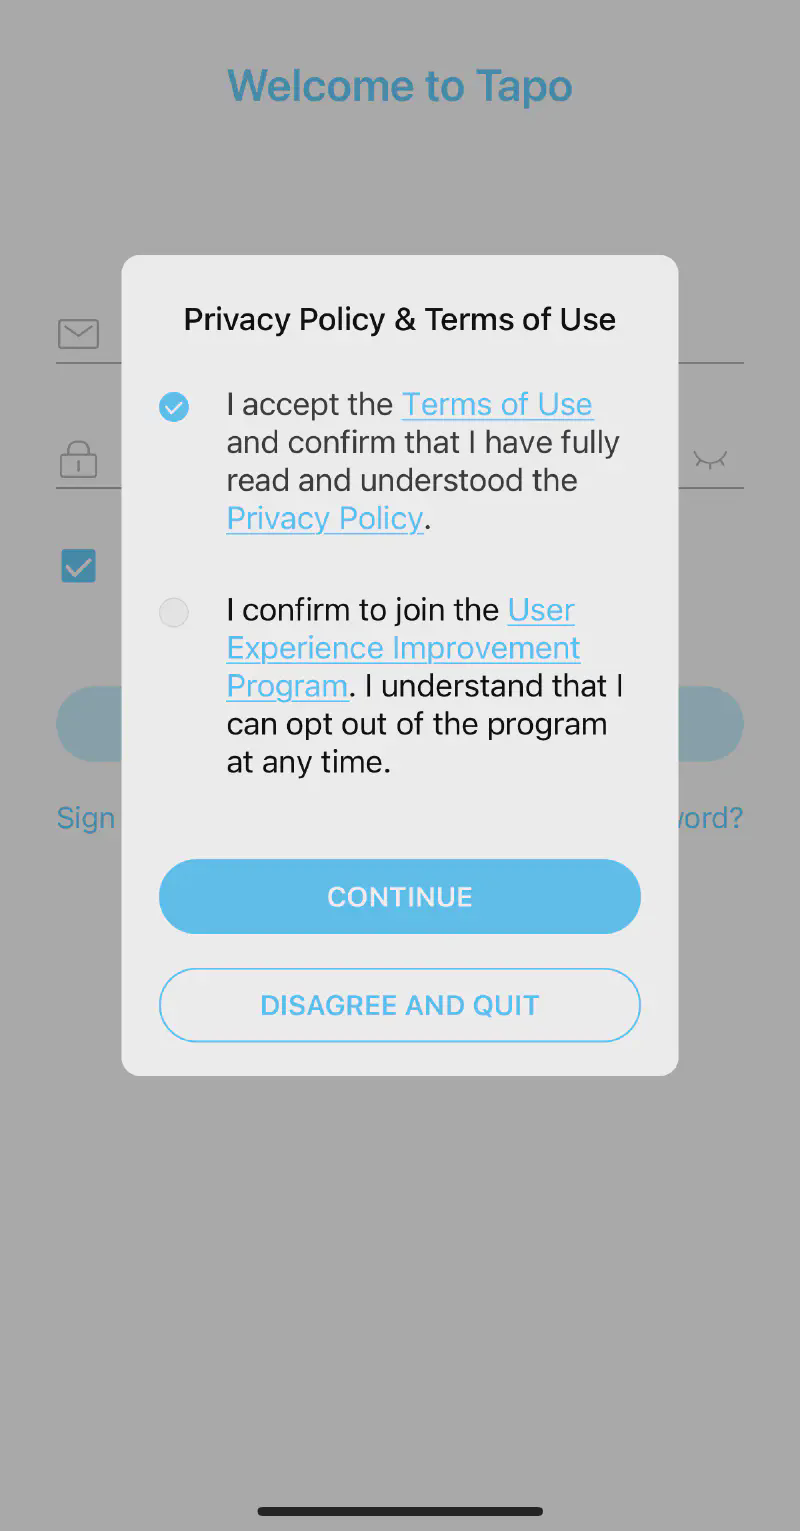
- Next, the Tapo application will prompt you to either login or create an account
- Tapo requires you agree to their Terms of Use and Privacy Policy
- The Tapo Privacy Policy details what information Tapo collects about you and how they use said information, including sharing with third parties
- If possible, use an e-mail relay instead of your personal e-mail address for account creation
- Tapo may request permission to send you marketing e-mails during account creation and offer you the option to enroll in their User Experience Improvement Program; neither are required
- Ideally, use a password manager or at least our built-in password generator to protect your account (doubly important if this camera will be anywhere you deem personal and private space)
- Tapo requires you agree to their Terms of Use and Privacy Policy
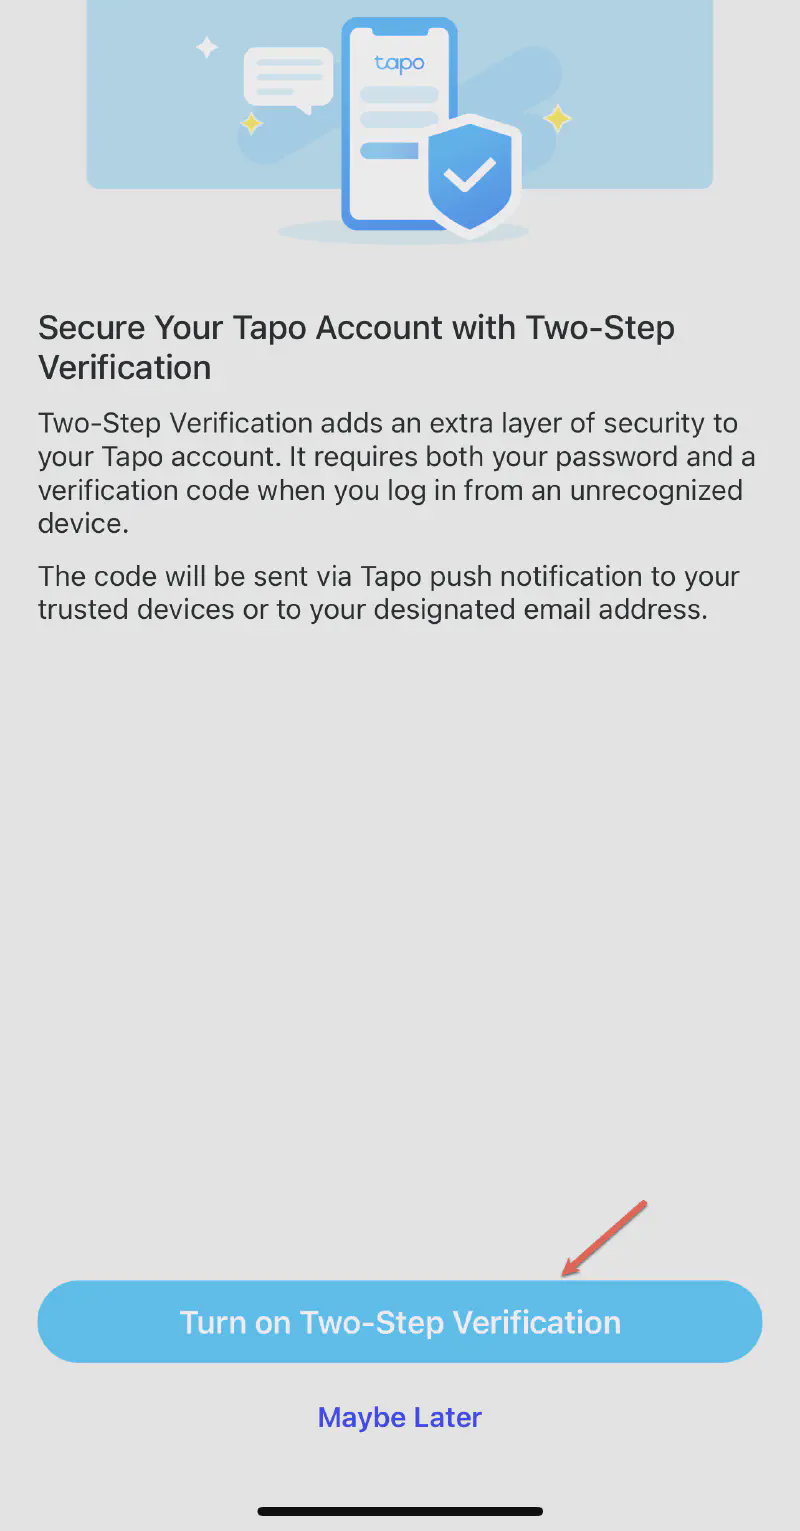
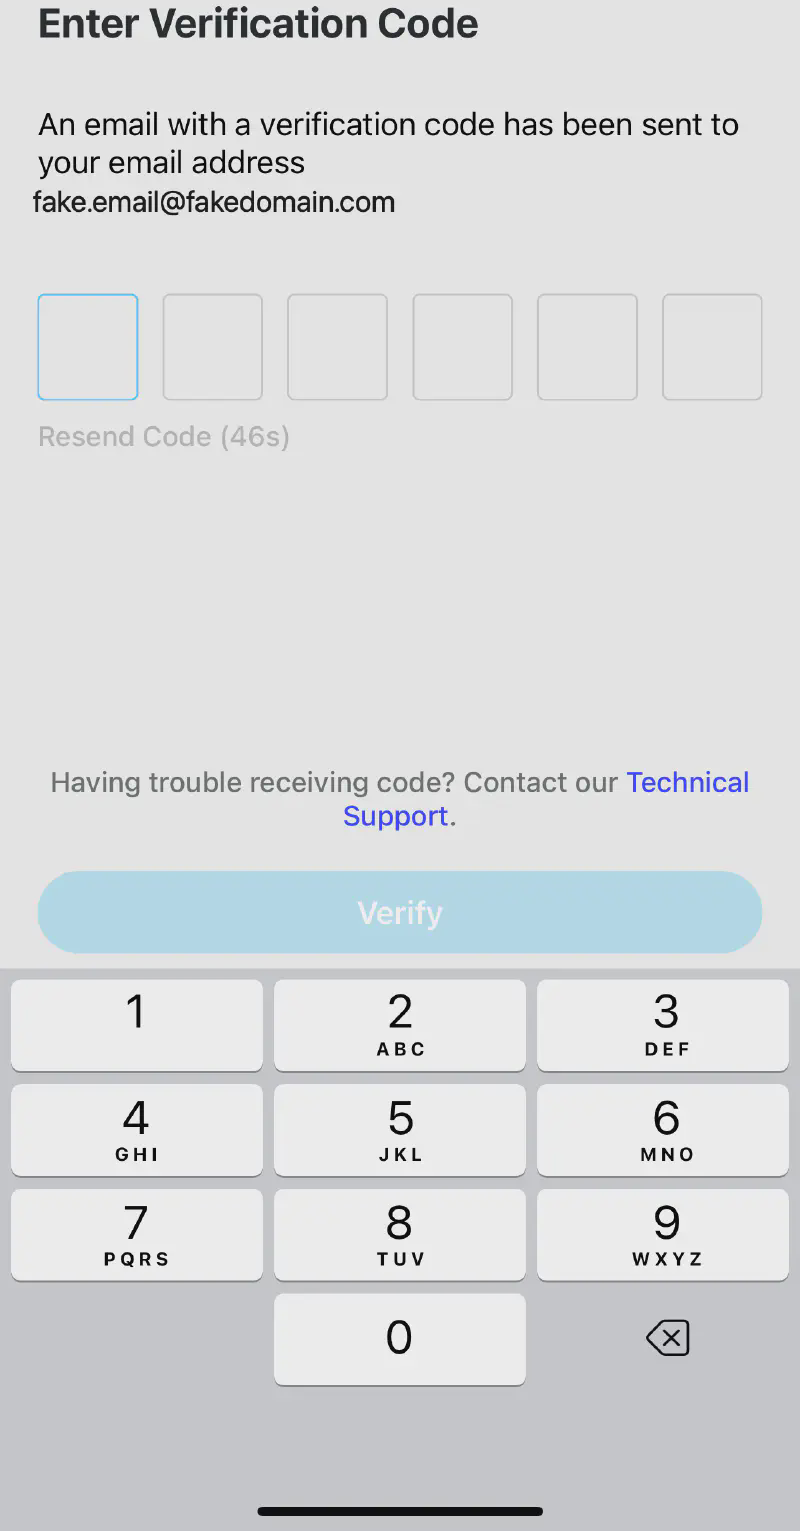
- The application should ask you to secure your account with two-step verification / two factor authentication . Enabling 2FA will send a verification code to your e-mail address. Please note, this is a potential weakness as anyone who obtains access to your e-mail may be able to request 2FA codes and/or reset your password to gain access to your Tapo account. Ensure 2FA is also enabled on your e-mail.
- The Tapo application will either take you to your homescreen or to the “Add Your Device” menu.
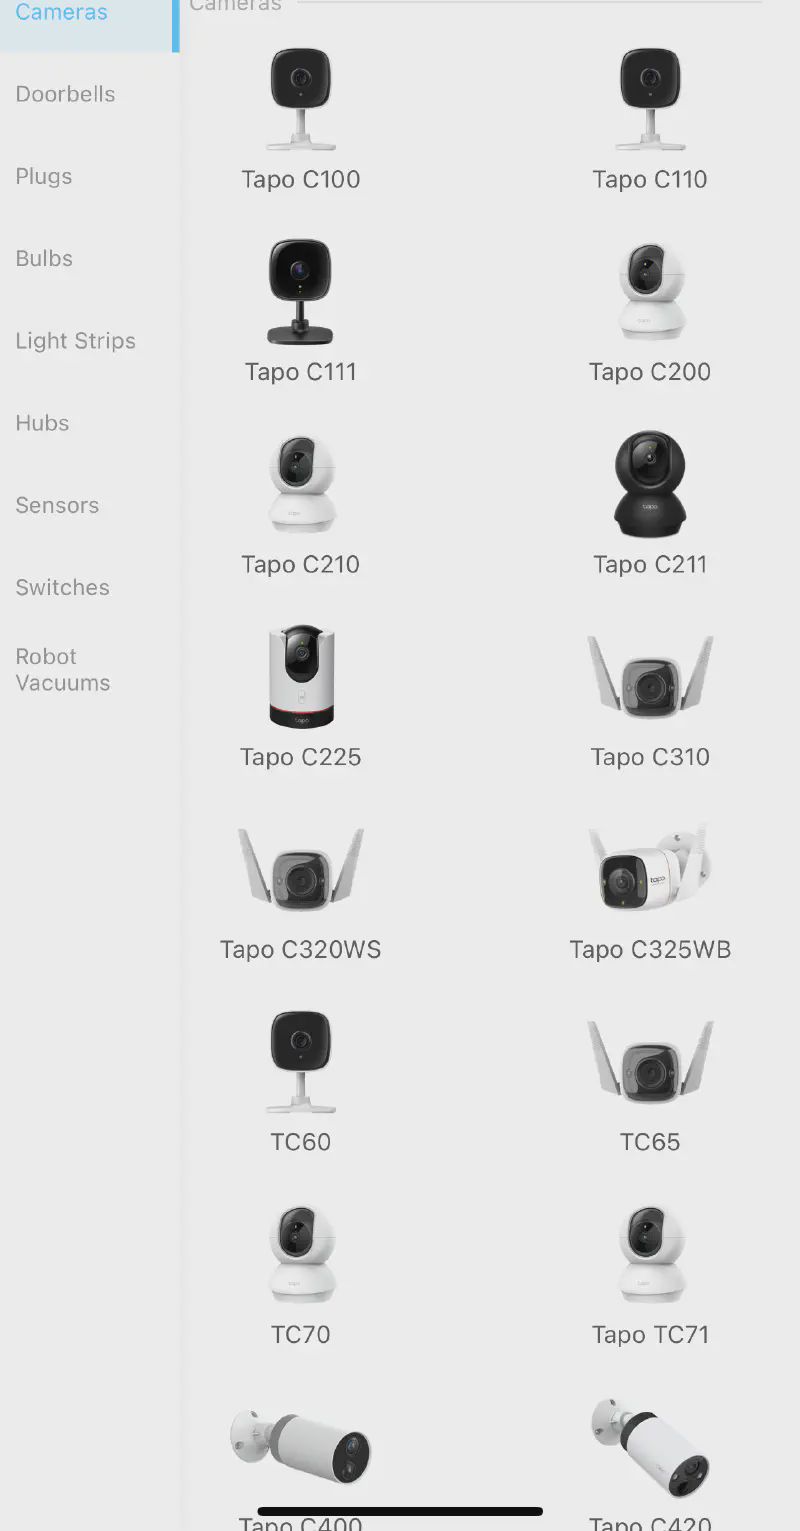
- Tapo will provide a list of compatible devices and ask for you to select yours, in this case a Tapo C210 under the Cameras subsection
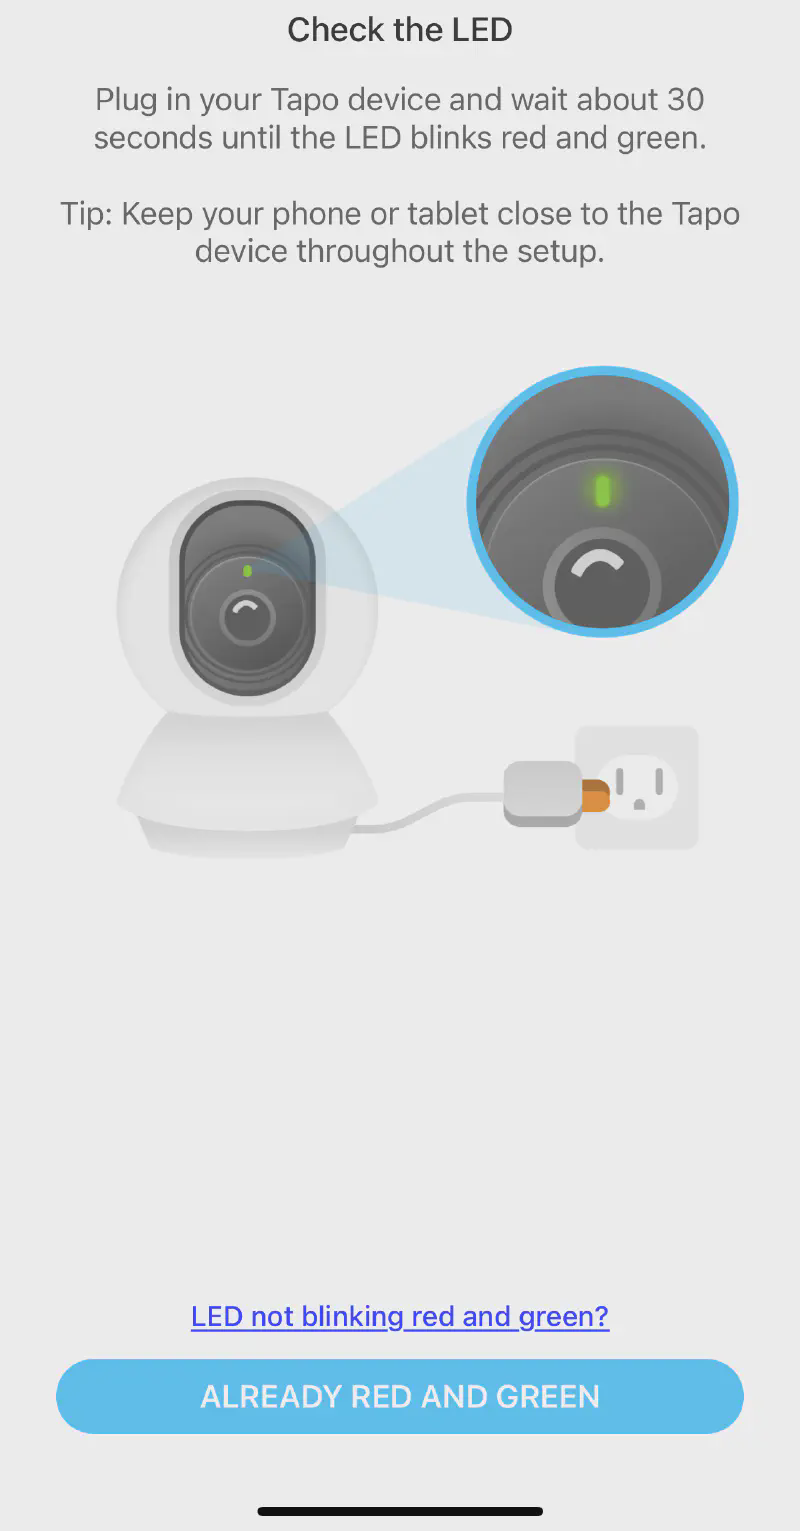
- Connect the Tapo camera to its power supply if you have not already done so
- Once the status lights begin blinking red and green, select the blue oval at the bottom with the text “ALREADY RED AND GREEN”
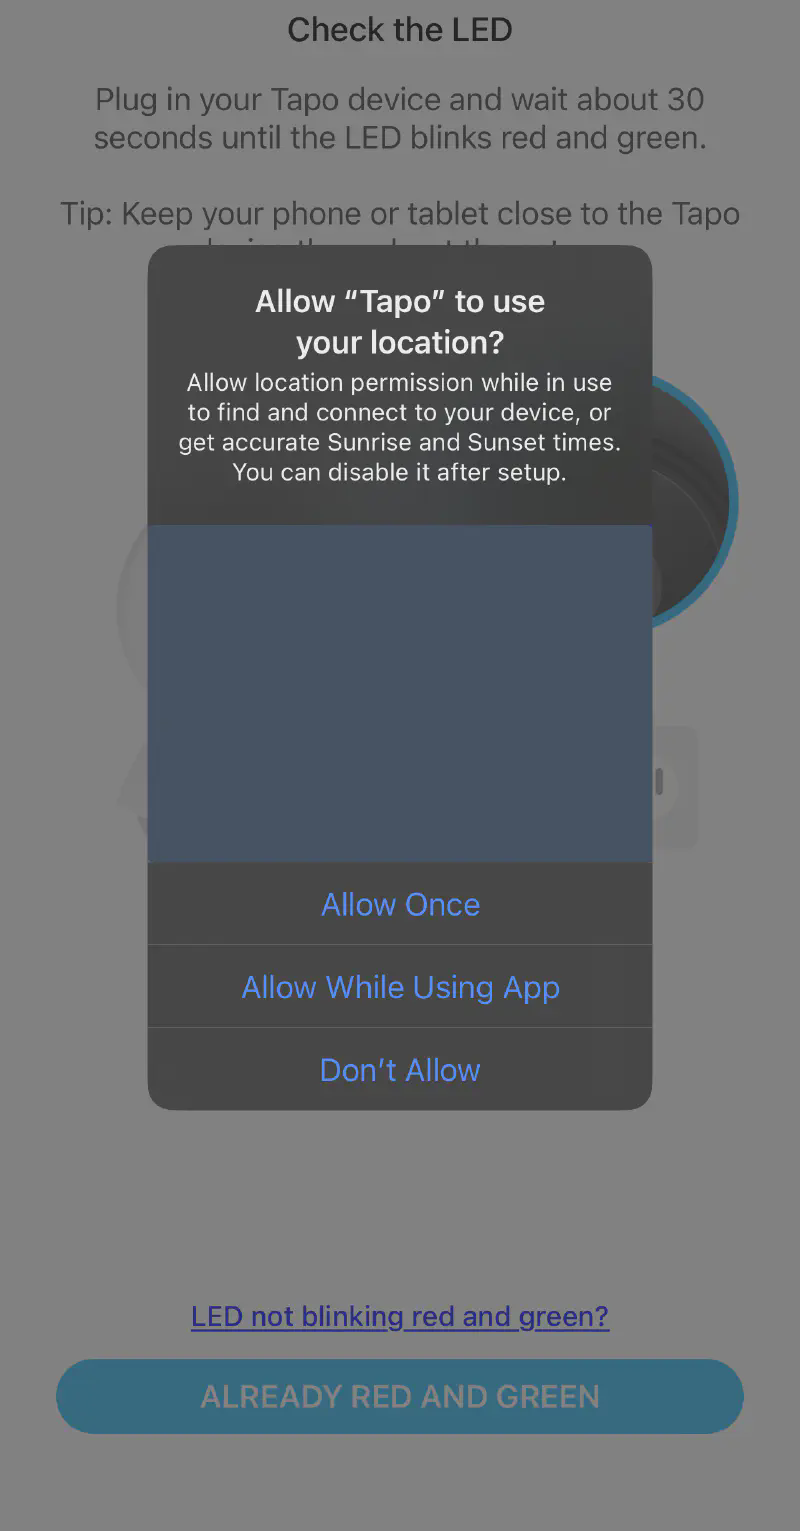
- Tapo will request location access on iOS devices for certain setup functionality
- iOS requires you grant this access for applications to access certain device discovery functions
- Choosing Allow Once ensures you don’t forget to disable this setting after setup completion
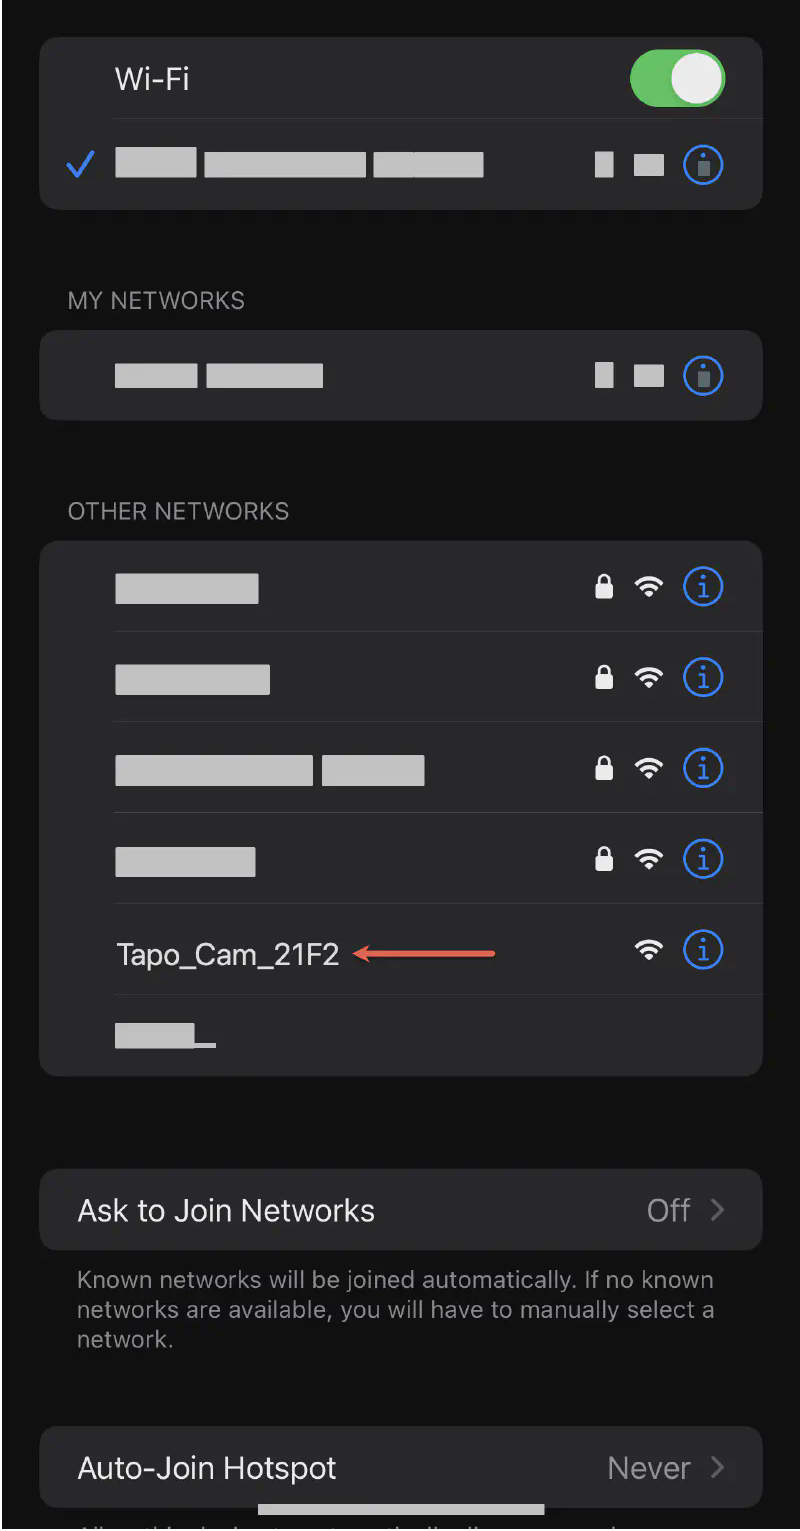
- The application will then direct you to connect directly to your camera’s Wi-Fi (formatted as Tapo_Cam_XXXX)
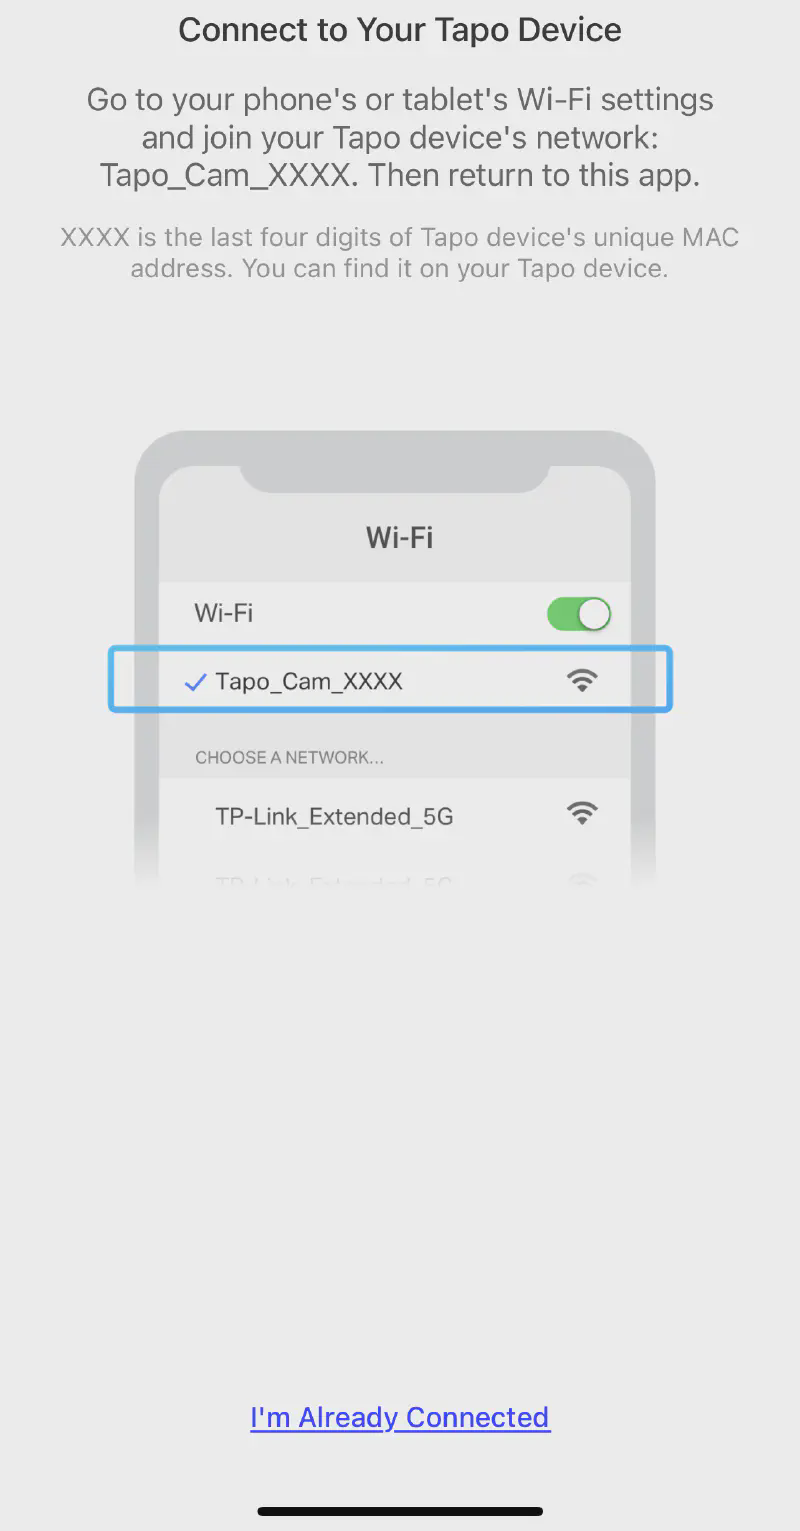
- Navigate to your respective phone’s Wi-Fi network selection
- Select the Tapo_Cam_XXXX network
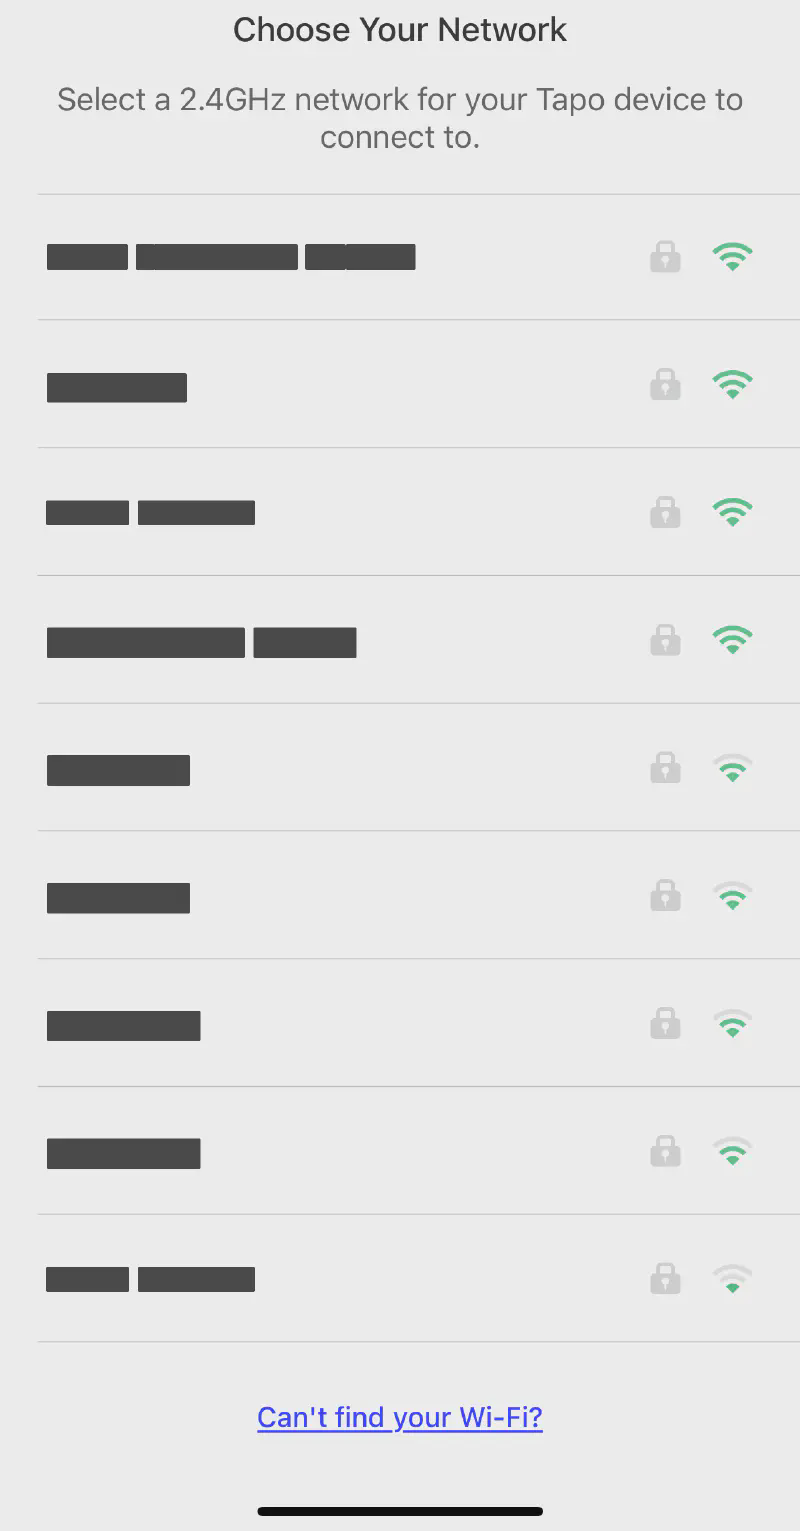
- Return to the Tapo app and it should prompt you to select a wireless network for the Tapo’s communication
- Tapo cameras may not support hidden, WEP, or WPA3 networks
- If the Tapo app cannot connect to the camera, ensure any VPNs are disabled and follow any of their troubleshooting steps
- The Tapo C210 only supports 2.4GHz Wi-Fi frequencies, if your network is missing you may need to either enable the 2.4GHz radios or try a different wireless access point
Optional Steps
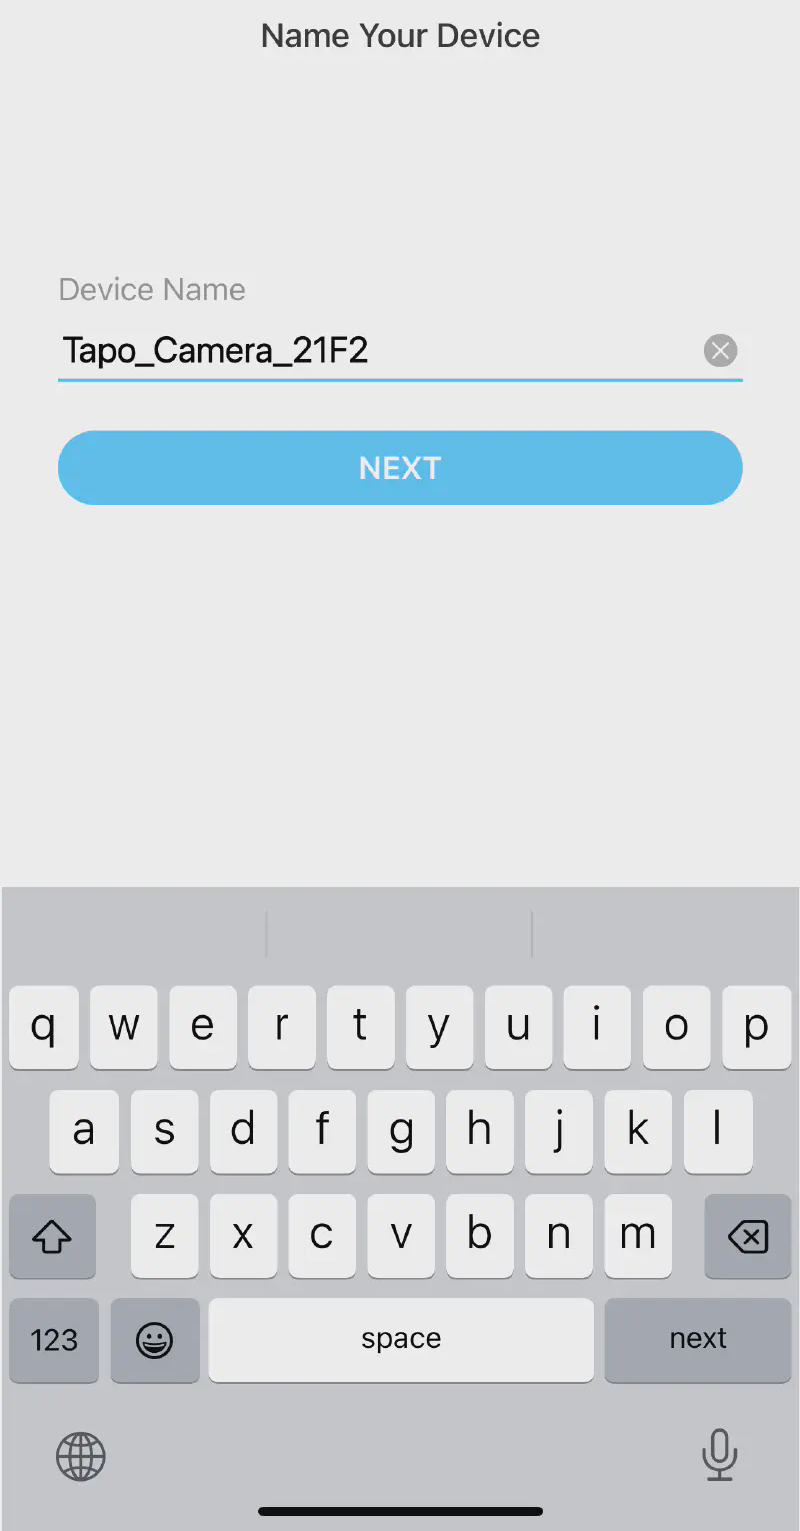
- You may choose a different name for your Tapo device
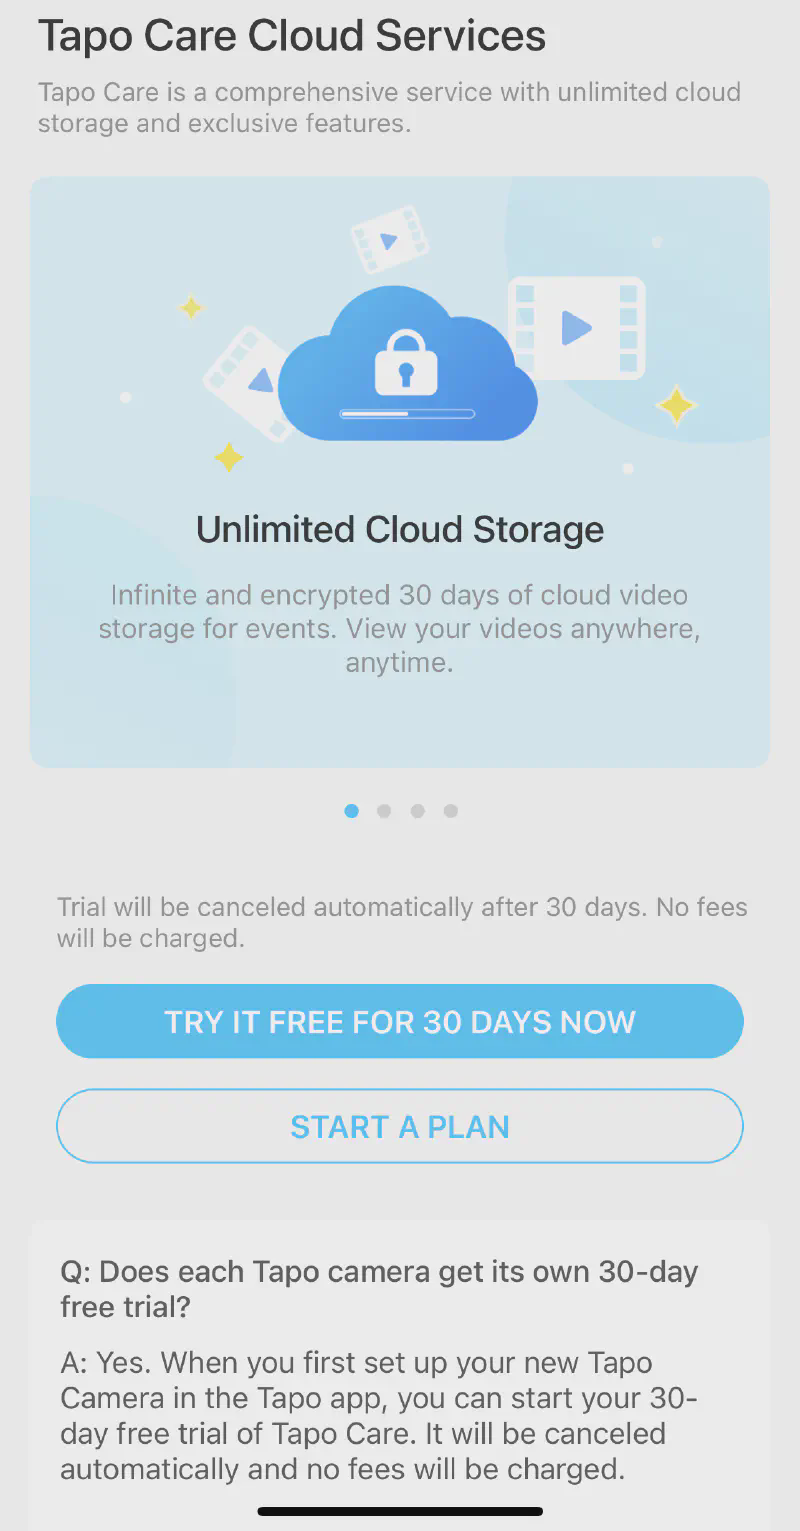
- Tapo offers a 30 day trial for their Tapo Care cloud service offering multiple features:
- Artificial Intelligence powered detection of events
- Cloud-based video storage (up to 30 days)
- Encryption status and security of uploaded videos is unknown
- Unsure if TP Link / Tapo employees have access to uploaded videos
- Richer notifications and privacy zones
At this point your camera is more or less configured. You can skip through these steps and come back to them later or walk through them now.
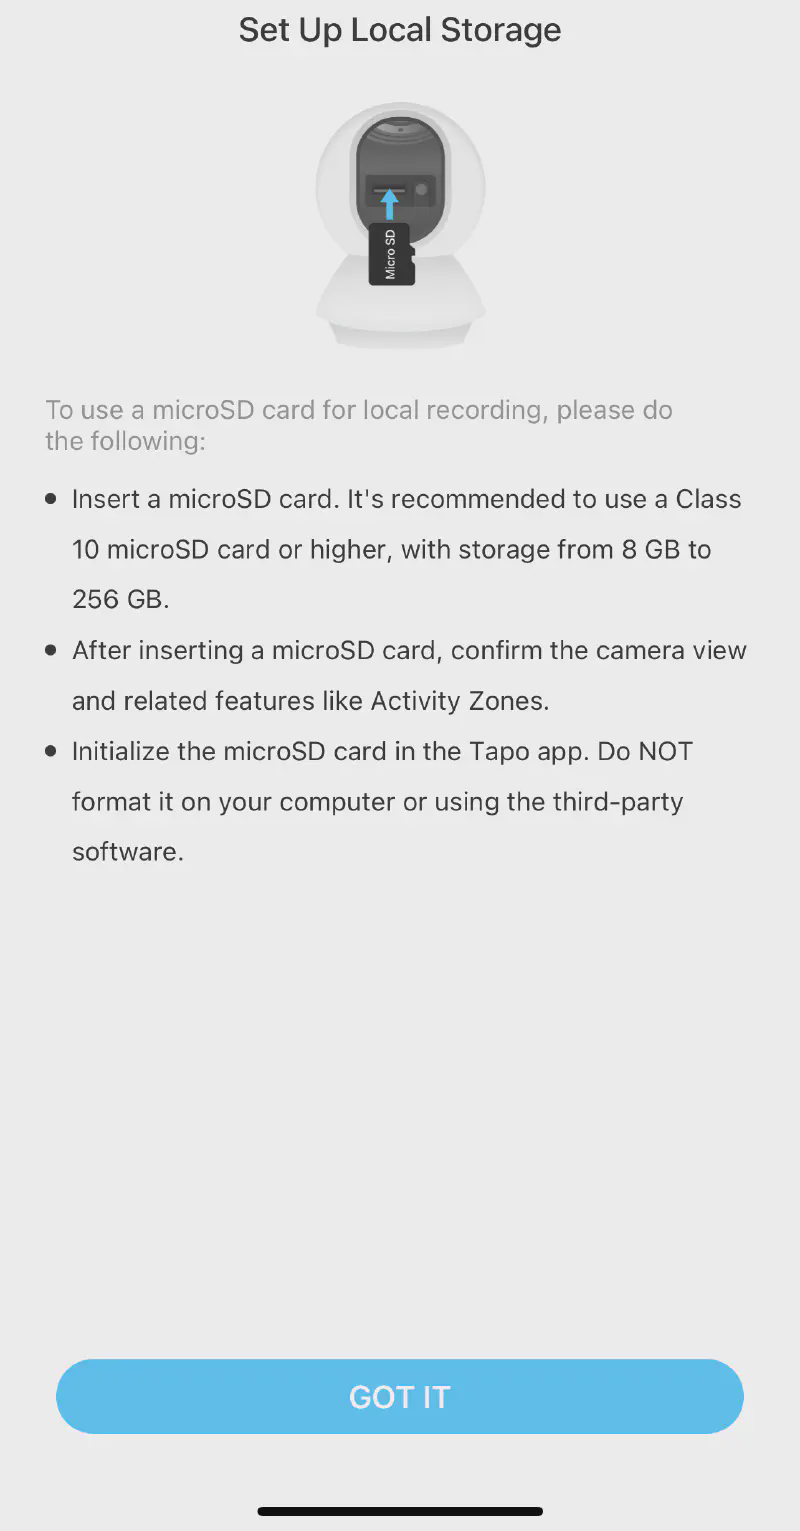
MicroSD Setup
The Tapo C210 supports local storage if you’d prefer not to pay for Tapo Care or trust your videos to a cloud provider . This camera is compatible with a MicroSD Card up to 256GB in capacity. Accessing the MicroSD slot may require you use your camera’s manual controls to tilt the lens upward.
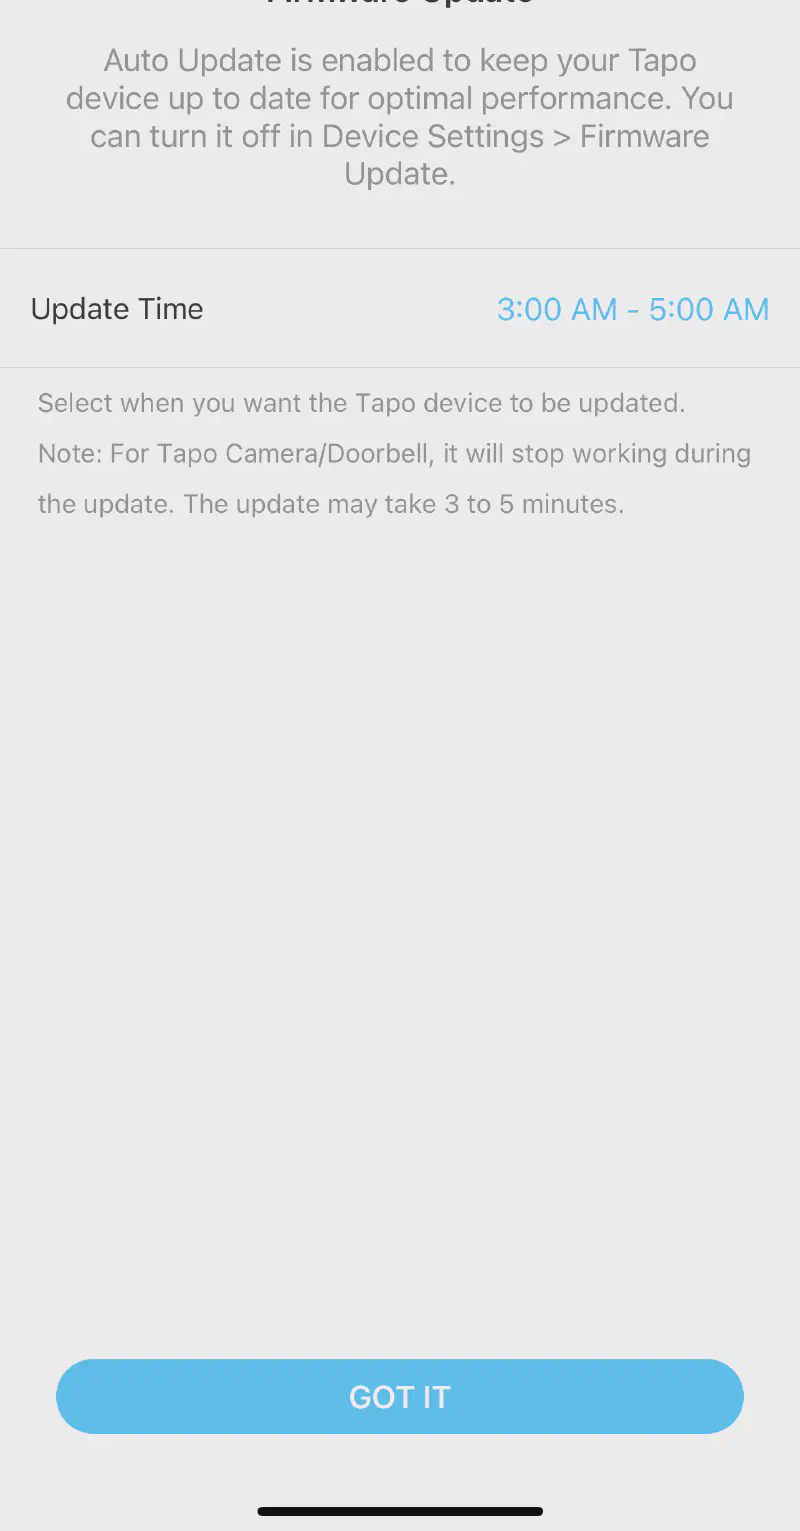
Automatic Updates
Automatic firmware updates are a reliable way of ensuring your camere is as secure as possible against recent vulnerabilities. Set automatic updates for a time period where downtime would have the lowest impact, for instance, when your child is at daycare if the camera functions as a baby monitor.
Privacy Mode
The Tapo C210 offers a “Privacy Mode” through its app. Privacy mode temporarily disables recording, motion detection, audio, camera alerts, notifcations, and camera controls. However, it is a “soft” control meaning it doesn’t physically cut the device off from the internet. You’re trusting privacy mode to behave as described. Disconnect the camera or disable its internet connection for more a reliable form of privacy.
3rd Party Services
Integration with 3rd party services such as Amazon Alexa or Siri offer additional ease of use functionality. Much like cloud storage via Tapo Care, you are placing your trust in the 3rd party’s security. You must also properly setup and secure any virtual assistance devices such as the Amazon Alexa. Otherwise, there is potential for someone to disable your devices, adjust camera angles, etc via voice commands. Leave a window open and someone may be able to just shout the command to shut off your Tapo devices.